
|
http://www.ozvalveamps.org/repairs/kooka.html | Created: 28/04/07 | Last update:
10:31 11/01/11
<<< OzValveAmps |
Toys that make a noise when you squeeze them eventually stop working.
Here is how to put the squawk back in your Macaw.
New: 24/12/10
Stuffed toys are not what they were. Our local toy shop stocks a range of Australian native bird soft toys; when you give them a squeeze they sing their song. Unlike old squeeze toys that used a small pnumatic device and reed to make a poor imitation of a baby's cry these modern ones contain digital recordings of actual calls. But they are not inexpensive, costing between $A30 and $A50.
As a bird fancier I must comment that some of these, the Magpie and Crimson Rosella in particular, do a lot better than others, including the Kooka. The Maggie is five seconds highly evocative of the misty Aussie bush just on daybreak.
When they stop working they find their way into the toy bin a the op-shop and can be picked up not-going for between $A2 and $A5 depending on how you chat up the DOL attending (and let me tell you, some of those innocent looking op-shop biddies would have Arfa Daly's shirt off his back).
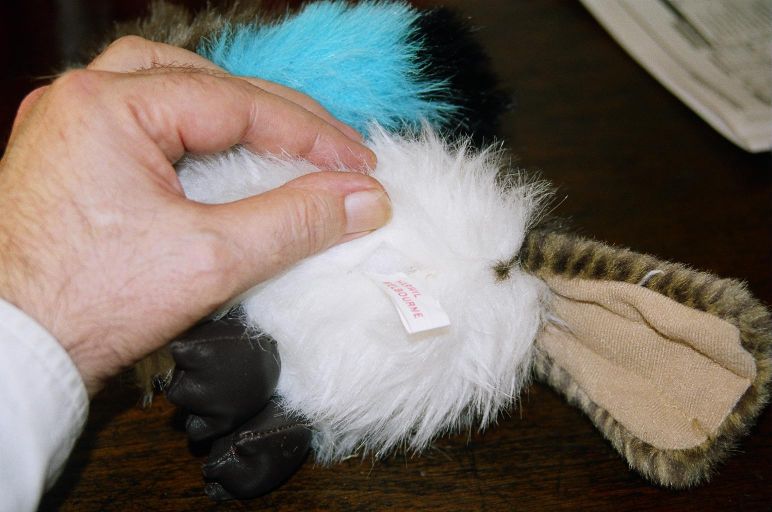
The key problem when presented with any repair is “how to get inside?”, no less so when presented with a dysfunctional Kookaburra (dacelo gigas).
According to Aboriginal legend the Kooka's early morning call wakes the Sky People who light a giant fire, the sun for that day. It is taboo to imitate the call of the Kooka because it might annoy these spirits who could then plunge the world into everlasting cold and dark. Some repairs have more risks than others.
Generally these stuffed toys have a cloth lable sewn into the seam somewhere out of the way. In the case of the Kooka it was on his bum just in front of the tail.
This will lead you in through all the fur to the seam, and it's a pretty fair bet this was how the voice box was inserted towards the end of production.
I un-picked a couple of inches of the seam and found it was possible to push the stuffing aside and find a cloth bag, which I extracted.
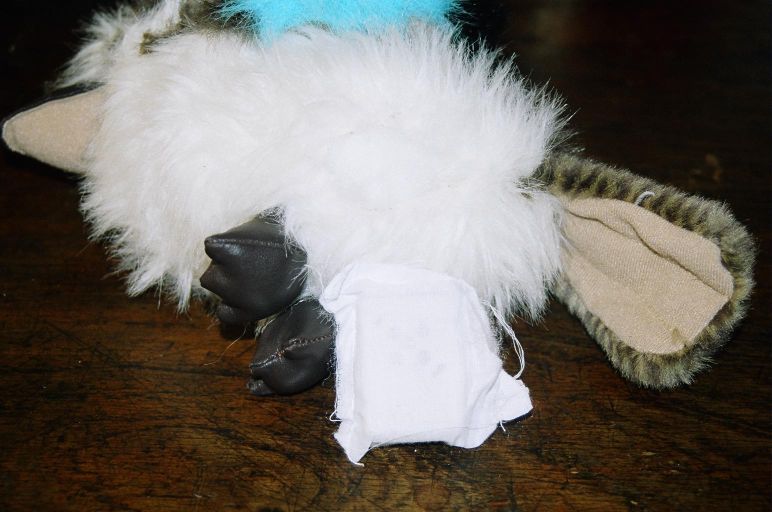
Un-picking this was easy, and inside I found a white plastic box.
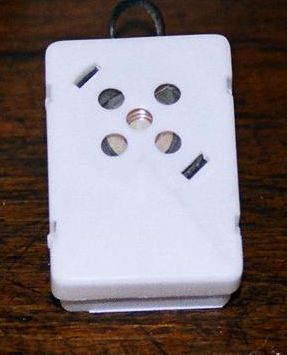
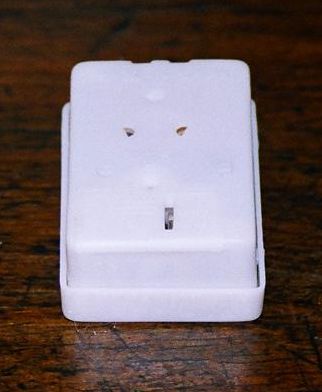
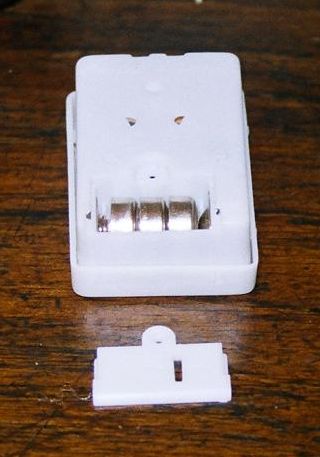
Front, back and one small screw and into battery compartment with three button cells.
The lid is captive with four latches, but has some free movement and is held out by springs, making the squeeze activation contact.
Flat batteries are the most obvious thing to look out for, but also poor contact between cells and their ends. A good clean and burnish the faces of the cells on clean paper, being careful not to touch them before fitting. Rolling them after insertion also scrubs the end contacts. If you find corrosion from a leaking cell it must all be removed, no residue at all if possible.
Using a small flat-bladed screwdriver the four latches that retain the lid can be gently eased until each releases, the springs pushing up making it somewhat easier.
It then unfolds on its speaker wires (which you may notice are fairly stiff).
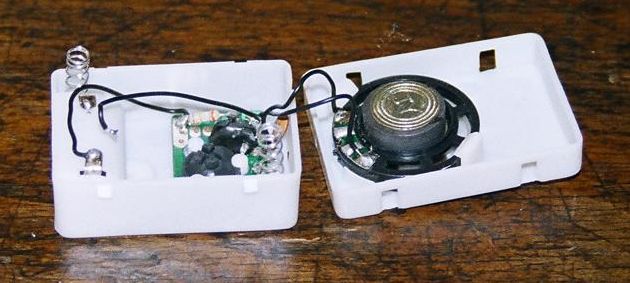
The battery may be the most obvious thing, but it may not be the most common. At left above you can clearly see the far end battery connection floating free.
The speaker goes up and down with the lid, and while one battery lead has been dressed down the side of the case well away from the speaker the other battery lead crossed right behind and the resulting flexing has broken the solder joint on the battery tag.
I'm sure we all do it from time to time, but this is a good illustration of the maxim that you should never depend on solder for the mechanical strength of a joint. The wire should be looped through a hole in the tag before any solder is applied, and that solder only to ensure electrical conductivity through the mechanical joint.
Well, I can only make an educated guess as to what silicon is lurking under the plastic blobs on the PCB. If you know these bird calls it is obvious that these are playbacks of recordings, not synthetic, and given the continually plunging price of memory it is a fair bet that it will be something quite simple like a long counter with a lot of ROM, clocking a fast serial pulse-width stream into a simple RC low pass filter.
Directly encoding the signal as something like PWM is grossly memory-inefficient, but this crude approach is still likely to be cheaper than an efficient coding, smaller memory, but requiring a D/A converter and more complex output filter in the final product.
Re-assembly is the reverse of disassembly. Like many devices these days they are designed for quick assembly, so putting them back together is often much easier than getting them open; finishing off with a bit of needlecraft (which every good tech needs in their bag of tricks).
|
|